EZ Menus are date-specific scheduled menus. Providers who use scannable menu forms would mark #01 and then mark the M bubble. KidKare providers simply select the EZ Menu they need when recording meals. You must have created a valid EZ Menu for that specific date and meal, otherwise the meal will be disallowed when processed.
Adding EZ Menus
- Click the Menu Planning menu and select Plan EZ Menus. The Plan EZ Menus window opens.
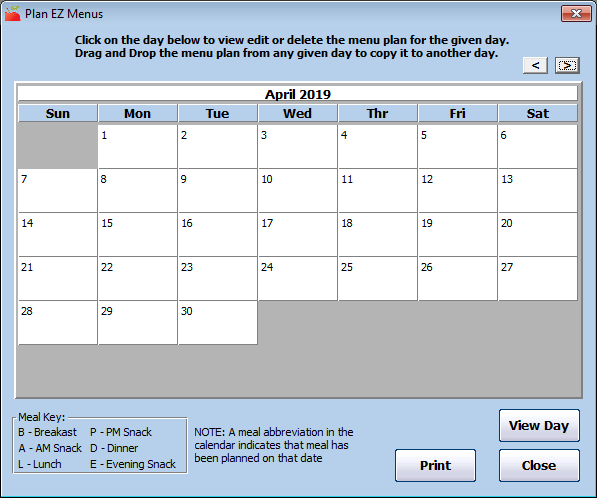
- Select the month to plan. this month defaults to the current claim month. Click
 to move to the next month.
 - Click the date for which to plan menus.
- Click View Day. The Plan EZ Menus for a Specific date window opens.
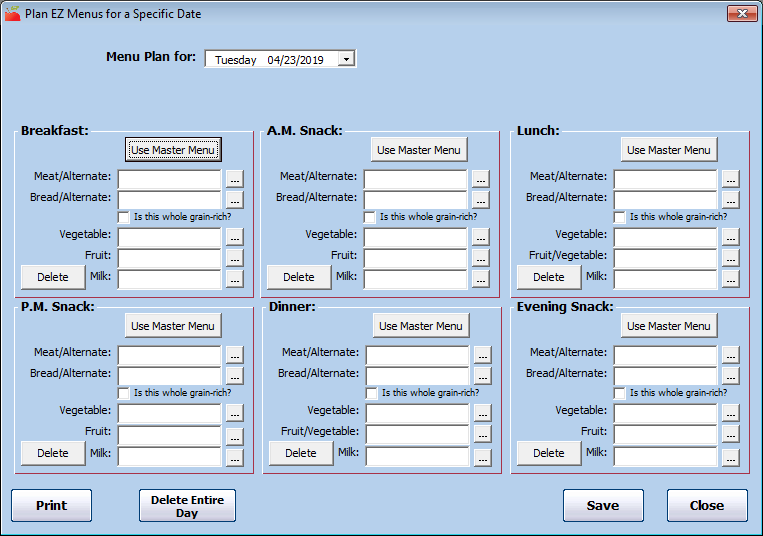
- In each meal section that applies (Breakfast, AM Snack, Lunch, PM Snack, Dinner, and Evening Snack), click
 next to each meal component and select the appropriate food. You can also click Use Master Menu to select a menu from your saved master menus.
 - Click Save.

 to move to the next month.
 next to each meal component and select the appropriate food. You can also click Use Master Menu to select a menu from your saved master menus.
Deleting EZ Menus
- Click the Menu Planning menu and select Plan EZ Menus. The Plan EZ Menus window opens.
- Select the month to plan. this month defaults to the current claim month.
- Click a day with an existing EZ Menu.
- Click View Day.
- Click Delete Entire Day.
- Click OK at the confirmation prompt.
Printing EZ Menus
- Click the Menu Planning menu and select Plan EZ Menus. The Plan EZ Menus window opens.
- Select the month to plan. this month defaults to the current claim month.
- Click a day with an existing EZ Menu.
- Click View Day.
- Click Print.