Some states count provider helpers as part of a provider's capacity. If this is the case in your state or a state in which your provider operates, you must add and manage these helpers in the provider's file in Minute Menu HX.
Adding Provider Helpers
- Click the Tools menu and select Provider Helpers. The List Helpers window opens.
- Click the Provider drop-down menu and select the provider for whom to add a helper.
- Click Add Helper. The Add New Helper dialog box opens.
- Click the First Name, MI, and Last Name boxers and enter the helper's full name.
- Click the Address, City, State, and Zip Code boxes and enter the helper's address.
- Click the SSN box and enter the helper's social security number.
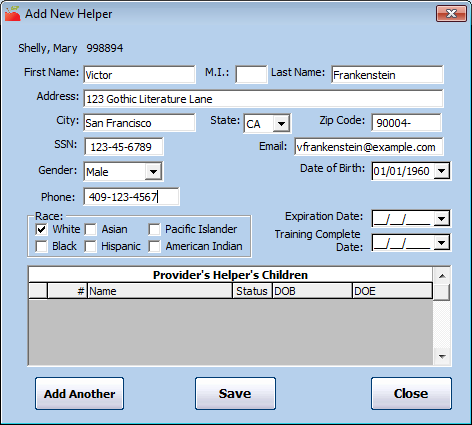
- Click the Email box and enter the helper's email address.
- Click the Gender drop-down menu and select the helper's sex.
- Click the Phone box and enter the helper's phone number.
- In the Race section, check the box next to each item that applies.
- Click the Expiration Date and enter the date on which the helper either needs more training or re-certification. This is useful if you require documentation proving that the helper has received training or has appropriate certifications.
- Click the Training Date Complete box and enter the date the training completed training, if needed.
- Click Save.
- Click Add Another to add another helper, or click Close.

Changing Provider Helpers
To update provider helper information:
- Click the Tools menu and select Provider Helpers. The List Helpers window opens.
- Click the Provider drop-down menu and select the provider for whom to manage helpers. The helpers created for this provider display.
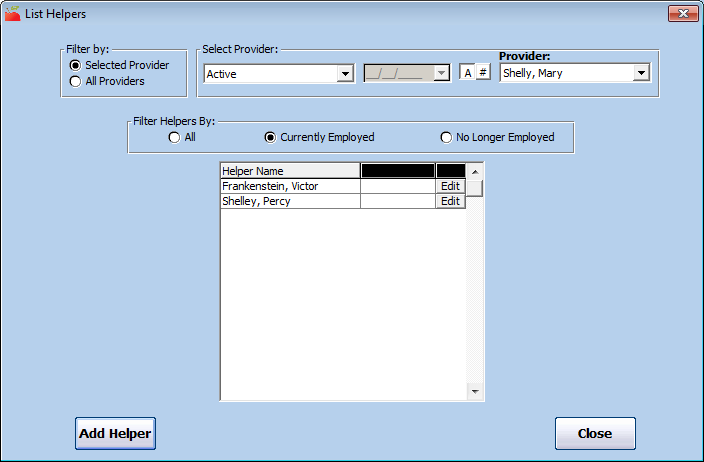
- In the Filter Helpers By section, select All, Currently Employed, or No Longer Employed.
- Click Edit next to the helper to change. The Edit Helper Information dialog box opens.
- Update the helper's information, as needed.
- If this helper no longer works for the provider, click the Last Date Employed box and enter the helper's last day of employment.
- When finished, click Save.

Deleting Provider Helpers
You should only delete helpers if they were entered in error. If the Helper no longer works for the provider, enter a date in the Last Date Employed box.
- Click the Tools menu and select Provider Helpers. The List Helpers window opens.
- Click the Provider drop-down menu and select the provider.
- In the Filter Helpers By section, select All, Currently Employed, or No Longer Employed.
- Click Edit next to the helper to remove. The Edit Helper Information dialog box opens.
- Click Delete.
- Respond to the confirmation prompt.
Note: You can access the List Helpers window from the Provider Information window. To do so, click Helpers (to the right) in the Provider Information window.