Use the Issue Payments function to issue checks and direct deposits. You can also use this function to obtain an export file of all checks/direct deposits for use in your own accounting system. Even if you do not pay your providers in Minute Menu HX, use this function to organize and track provider payments.
- Click the Checkbook menu and select Issue Payments. The Issue Payments window opens.
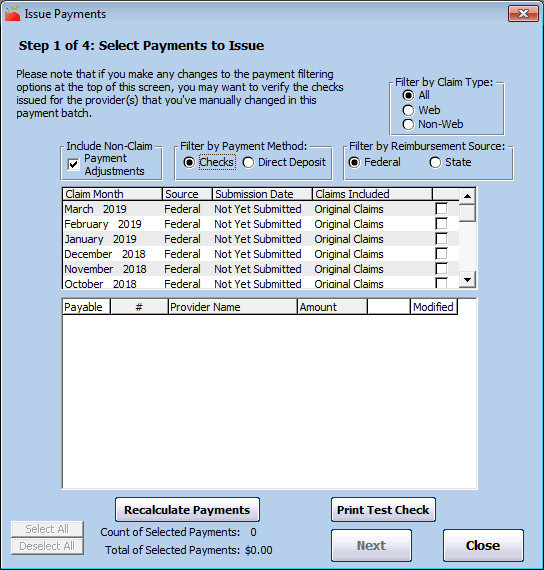
- Filter to the providers to claim.
- Filter to the claims to pay. You can set the following filters:
- Claim Type: Select All, Web, or Non-Web.
- Include Non-Claim Payment Adjustments: Check this box to include non-claim payment adjustments in the list. For more information about these adjustments, see How Minute Menu HX Manages Payments. This option is checked by default. Clear it if your agency keeps strict separation of claim months and requires providers to re-pay funds when negative adjustments are made.
- Filter By Payment Method: Select Checks or Direct Deposit. Providers assigned to the payment method you select display. You set providers up for direct deposit in the Provider Information Other tab. If providers are not specifically set up for Direct Deposit, they receive checks. See Set Up Direct Deposit for more information.
- Filter by Reimbursement Source: If your state offers additional reimbursement funds over and beyond the level provided federally by the CACFP and you split your State and Federal provider payments, select the appropriate source here. This option only displays if your state offers supplemental funds and you pay providers separate checks for state and federal funds.
- Check the box next to a claim batch to pay. The claim batches listed in this box are split up to show the claim months for which claims are awaiting payment, as well as a further breakdown by the date those claims were submitted to the state for reimbursement.You can also see whether a listed claim batch includes original claims and those that include positive vs negative adjustments. This allows you to select exactly which claims you wish to pay.
- Click Recalculate Payments. The system compiles all claims for payment based on your filtering criteria. This process can take some time. Once it's finished, a list of provider payments displays. The Payable box is checked next to each provider you can pay.
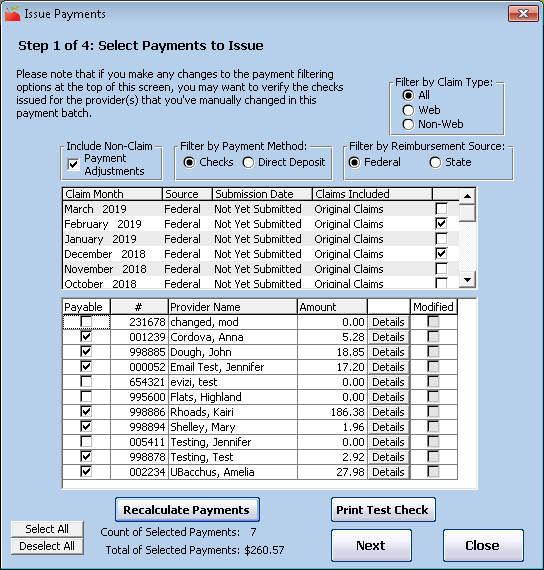
- Review the total amount of selected payments that displays at the bottom of the window.Clear the box next to any payment you do not need to issue.
- To view/change change payment details,
- Click Details. The Provider Payment Details window opens and displays each payment component that can be paid and each component that will be paid. For example, if you set filters to exclude non-claim payment adjustments in the Issue Payments window, the box next to such payments is not checked in here.
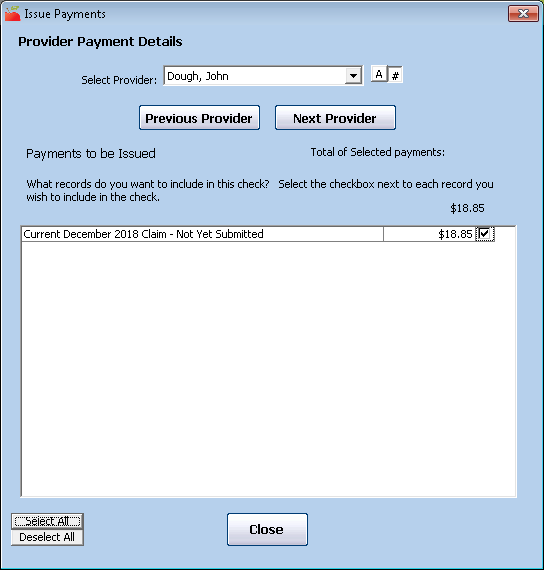
- Check the box next to each additional payment component to include in this check/deposit. Clear the box to remove it.
- When finished, click Close. If you made change in this window, the Modified box is checked in the Issue Payments window.
- Click Details. The Provider Payment Details window opens and displays each payment component that can be paid and each component that will be paid. For example, if you set filters to exclude non-claim payment adjustments in the Issue Payments window, the box next to such payments is not checked in here.
- Click Next.The Print Checks window opens.

- Review the payment information listed at the top of the window.
- Click the First Check Number box and enter the first number to assigned to the payments you are issuing (whether direct deposit or checks). You must still enter a number here even if you are only exporting payment information. If you are issuing direct deposits, you may not have an actual check number, so supply any number here. We recommend that you choose a unique check number range. For example, you could start at 1000, and the next time you issue payments, start at 1100.
- Click the Check Print Batch Limit box and enter the maximum number of checks included in one print job. Minute Menu HX uses the Windows Spool Manager to combine a number of individual checks into one print job. This speeds up the printing process and helps minimize the possibility of another print job interrupting your check run. This box defaults to 1000. It does not affect the number of checks printed—just the number sent together as one batch.
- Click the Check Date box and enter the provider payment dates. If you are issuing payments in advance, use the date closest to when you expect to send payments to your providers. Once you save the payments in the database, KidKare providers will see that claims were paid once the date you enter here is reached.
- Click Pre-Print Register to to print an itemized register of all of the payments you're about to issue. Use the last page of this register to ensure that your incoming funds match your outgoing funds with this batch.Note: The Pre-Printed Check Register notes the details of checks that may be created automatically as part of this check run. For example, manual adjustments are noted here if you use the Monthly Check Deduction feature. Also, if you have chosen to pay a provider who would have otherwise received a negative check, a manual dollar adjustment that brings the check up to zero dollars (and any other offsetting non-claim payment adjustments) displays.
- In the Print Order section, select Provider ID or Provider Last Name. This is the order in which checks or printed or providers are listed in the export file.
- In the Print Destination section, specify where to print checks/send the file.You can select Printer, Export File, or Both. If you are printing checks in Minute Menu HX, you must select Printer or Both. If you do export a file, you can change the file name, if needed. Direct deposit and checks print in the same way when sent to the printer. The only difference is that you should print direct deposits on regular white paper and you should print checks on blank checks. Sending direct deposits to the printer provides you with paper records of the direct deposits.
- Click the Check Message box and enter a message to include on the checks or payment vouchers.
- If you are printing checks, click Print Test Check to ensure that the alignment matches up properly. If they do not, contact Minute Menu HX Support for assistance.
- If you are issuing direct deposits, check the ACH File box. This will generate the ACH file while you run this print batch. Make note of the file name and location so you can retrieve the file later and upload it to your bank.
- When you are ready, click Print. The system begins creating payment transactions. If you sent your payments to the print, then checks/direct deposit receipts print. If you only created an export file, go to Step 22.
- The Verify Successful Print Job window opens.
- Review the printed checks. If they did not print properly, you can re-print them.
- Click the Last Successfully Printed Check box and enter the check number of the last successfully printed check.
- Click the Restarting Check Number box and enter the first check number to use for the re-printed checks. This should be the number immediately after the last successfully printed check number.
- Click Reprint.Note: Before you continue pat this step, be absolutely certain that your checks printed properly. There is no other way to re-print check batches in Minute Menu HX. If you skip this step and discover that a large number of your checks did not print correctly, you must re-print these checks individually.
- If your checks printed successfully, click Checks Printed Successfully. The Checks Printed Report window opens.
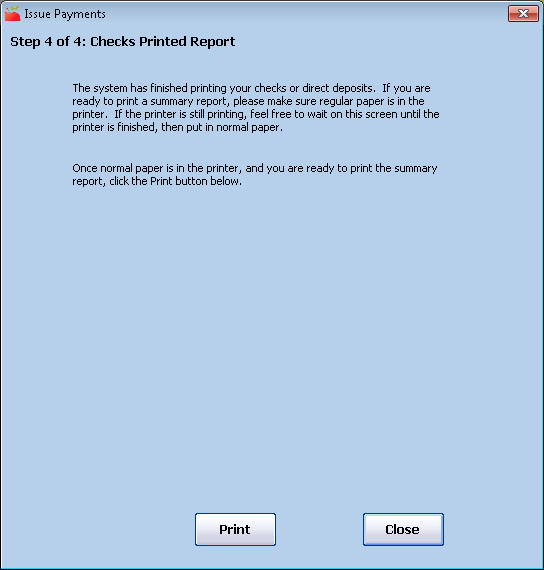
- Click Print Check Register to generate the check register. You can also print a physical copy.
- When finished, click Close. The payment process is complete.


