You can assign provider messages to specific categories, if needed. Setting up and assigning categories to your messages allows you to review messages by category in the future. While this isn't a necessary step, it helps you manage data if you record a large amount of provider messages. For example, when you use the Message List Export File, you can filter to messages related to a certain category.
Examples of categories you could create include:
- Paperwork Requests
- Claim Questions
- Payment Questions
- Nutrition Questions
- Complaints
Adding Message Categories
To set up message categories:
- Click the Tools menu, select Messages, and click Message Categories. The Message categories dialog box opens.
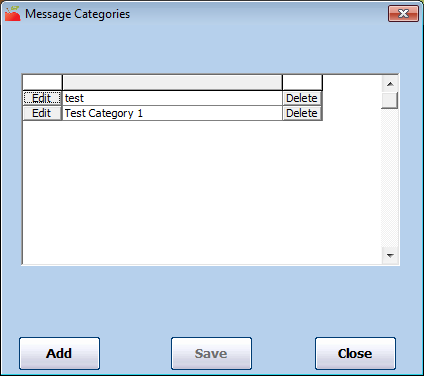
- Click Add. The Add Message Category Code dialog box opens.
- Click the box and enter the category name.

- Click Save.


Editing Message Categories
- Click the Tools menu, select Messages, and click Message Categories. The Message categories dialog box opens.
- Click Edit next to the category to change.
- Click the Edit Code box and update the category text.
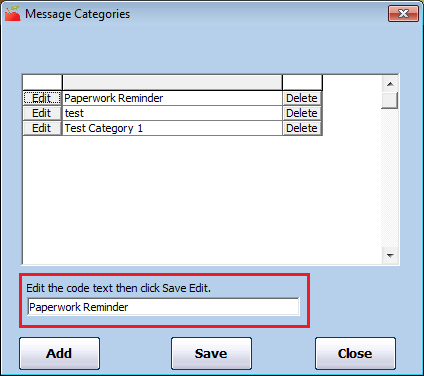
- Click Save.

Deleting Message Categories
Note: We strongly recommend that you do not delete categories to which you have previously assigned messages.
- Click the Tools menu, select Messages, and click Message Categories. The Message categories dialog box opens.
- Click Delete next to the category to delete.
- Click Yes at the Are You Sure prompt.