If you use Functional Security, you must assign permissions to each user you create. For more information about the difference between Functional Security and Provider Security, see Manage User Security.
- Click the Administration menu and select Users/Monitors.
- Click the Select User/Monitor drop-down menu and select the user for which to manage permissions. You can also add a new user. For instructions, see Create Staff Accounts. Note that if you create a new user, you must re-select the user after you save before you can manage their functional permissions.
- Click Permissions. The Permissions dialog box opens.
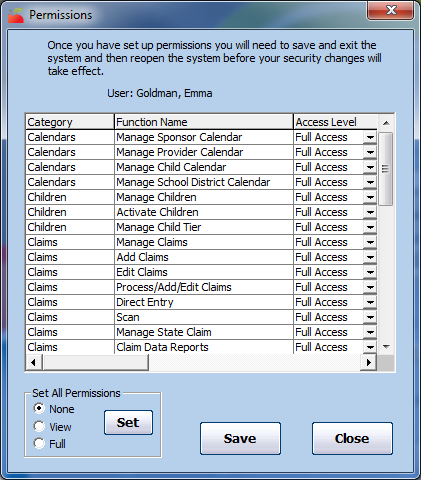
- Click the Access Level drop-down menu for each permission and choose from the following:
- Full Access: The user can review and update information in the given area.
- View Only Access: The user can only view information in the given area. The user cannot save any changes. This access level gives the user access to any related reports and on-screen functions.
- No Access: The user cannot see any information for the given area.
- Click Save.

Mass-Changing Access Levels
You can automatically assign all functional groups to one particular access level, if needed. You can then scroll through the list of permissions and update specific functions that should not be the set to the default you select.
In the Set All Permissions section:
- Select None, View, or Full.
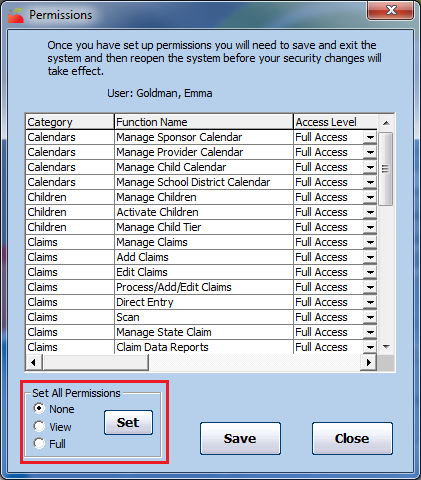
- Click Set.
- Change individual functions, as needed.
- Click Save.
