If you currently use or plan to use scannable forms, you must assign a child number to each enrolled child. You can assign children a number from 1 to 28. These numbers correspond to the bubbles available for use on scannable forms. For more information about assigning child numbers, see Assign Child Numbers.
To ensure that no problems arise when providers enroll and withdraw children over time, Minute Menu HX examines enrollment and withdrawal dates for each child to determine which child belongs to a specific number. When a child is enrolled and assigned to a number, the number assigned to that child is locked down effective the first of the month of that child's enrollment. This number is locked and unavailable through the last date of the month of withdrawal. For example, Lisa is assigned to #2. The provider withdraws Lisa in February. In May, Brett is enrolled and assigned to #2. Minute Menu HX notes that as of May, Brett is #2, because this is past Lisa's withdrawal date.
Some children may be listed with a WD in front of their names. This indicates that the child occupying that number was withdrawn, but the old child's withdrawal date is later than the current child's DOE, so that withdrawn child was activate at some point with the currently enrolled child.
Note: We absolutely do not recommend that you change a child's number once they are enrolled. The only situation in which this might be needed is when a provider enrolls a child initially, and they assigned the number to this child in error. Even so, it is best to minimize child number changes to minimize confusion for your provider and for any follow-up audits that must be completed.
To change a child number:
- Click the Providers menu and select Child Information. The Child Information window opens.
- Click the Provider drop-down menu and select the provider.
- Click the Child drop-down menu and select the child to change.
- Click Child Number (to the right). The Assign Child Numbers window opens.
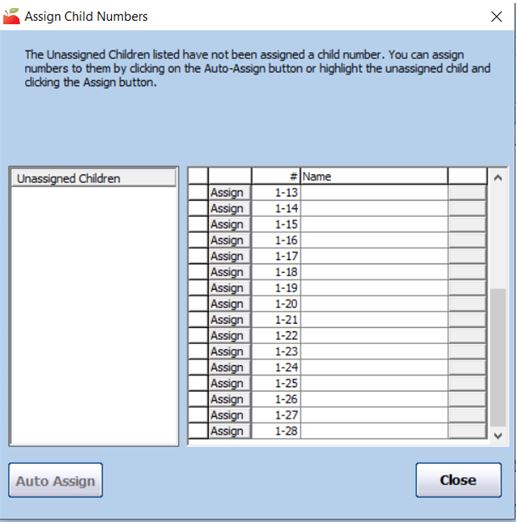
- Click Delete next to the child to change. The child is moved to the Unassigned Children box to the left.
- Click Assign next to the new open number to which to assign the child.
- Click Close.
- Click Save.

The system will cross-check the child's date of enrollment here and all existing enrollments on-file. If the child number to which you are assigning the child was in-use at some point in the past, and the child's given date of enrollment indicates that there would be an overlap, the system prevents you from assigning that child number.