When working from home, you may not have access to a printer. Minute Menu HX has tools that can help you process and monitor claims without printing reports to paper.
Processing Claims & Manual Adjustments
Process all of your claims first and then make any manual adjustments. If you make adjustments and then process claims, your adjustments are deleted. Therefore, it is best to process all claims first and make your adjustments last so you do not lose the adjustments.
Stop Reports from Printing Automatically
Typically, the Office Error Report is sent to your printer by default during claims processing. If you do not have a printer available at home, you can choose to stop any reports from printing. Don't worry—you can print these reports to PDF later. See the Generate and Save Error Reports heading, below.
- Click the Claims menu and select Process Claims. The Process Claims window opens.
- Select your state (if you operate in multiple states), select the claim month, and click Refresh List. Any providers who are ready to be processed display.
- Clear the Print Office Error Report box. Ensure that the boxes next to the other reports are clear, as well.
- Complete claims processing as you normally would. For details, see Process Claims.
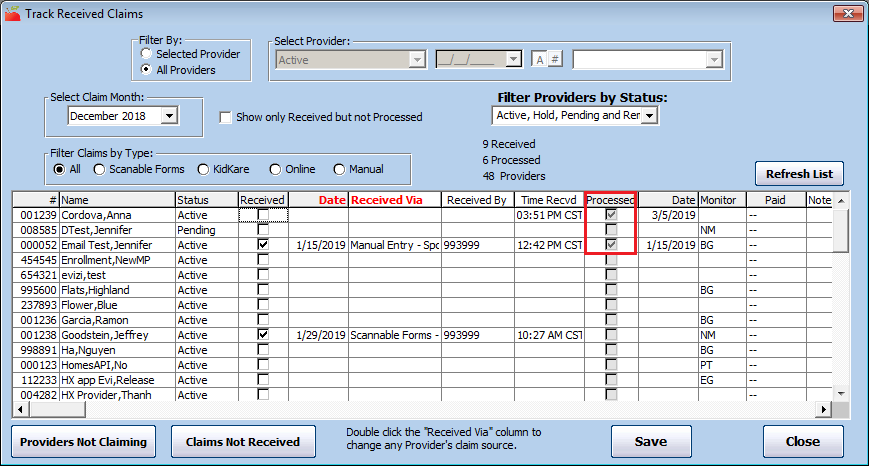
Stay Organized with Track Received Claims
Use the Track Received Claims feature to keep track of providers who have submitted claims, as well as which of those claims you've already processed. This allows you to remained organized in a paperless environment.
- Click the Claims menu and select Track Received Claims. The Track Received Claims window opens.
- Select the All Providers option in the Filter By section.
- Click the Select Claim Month drop-down menu and select the claim month you are tracking.
- Click Refresh List. A check in the Processed column indicate that you've processed the listed provider's claim. The processed date displays in the Date column.

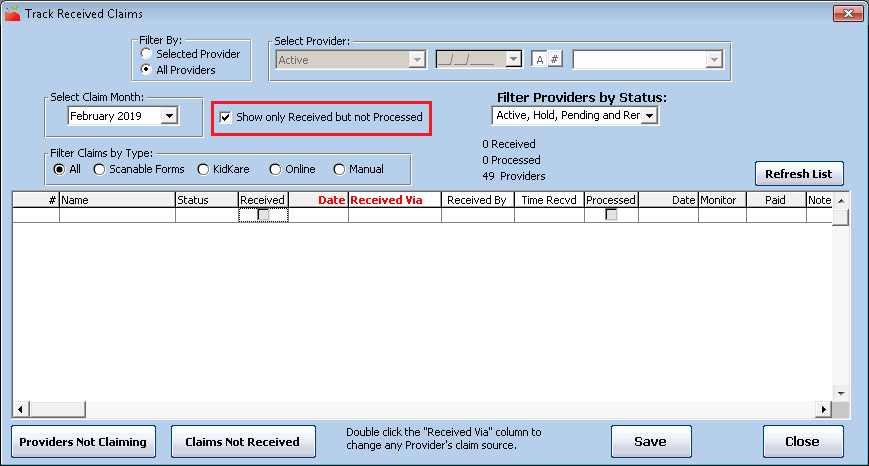
View Received Claims You Haven't Processed
If you need to see those claims you've received but have not yet processed, you can check the Show Only Received Not Processed box and click Refresh List to view a list of unprocessed claims.
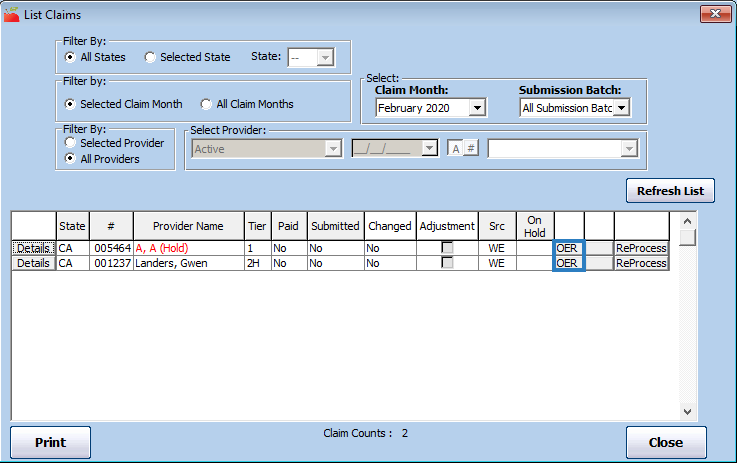
Generate and Save Error Reports
Even if you skip automated printing during claims processing, you can generate the Office Error report and the Provider Error Letter and save a digital copy to your computer. There are several ways you can do this:
- Reports Menu: Click the Reports menu, select Claim Data, and click Claim Error Report. For more information, see Print the Office Error Report.
- List Claims Window: Click the Claims menu and select List Claims. Locate the provider for whom to print the Office Error report, and click OER next to their name. The Office Error report is generated, and you can save it to your computer.

Note: Providers using KidKare can download and print their own Provider Error Letter directly from KidKare. They can view instructions for doing so here.
Print Reports to PDF
We recommend you print reports to PDF whenever possible—especially if you are emailing them to your providers. Note that you must have a PDF creator installed before you can print to PDF. If you do not, you can download and install CutePDF Writer for free here (external link). To change the printer used when printing reports:
- Generate a report as you normally would. See the bullets and linked articles, above.
- In the Report Viewer, click
 .The Print Setup dialog box opens.
- Click the Name drop-down menu and select your PDF printer, Adobe PDF, for example.
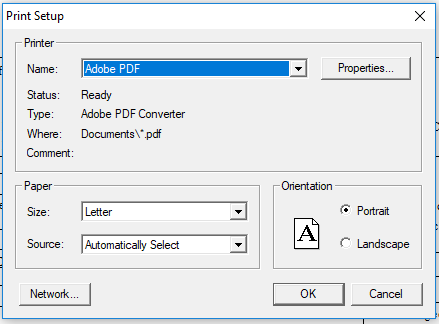
- Click OK.
- Click Print to print the report. Your PDF printer name should display.
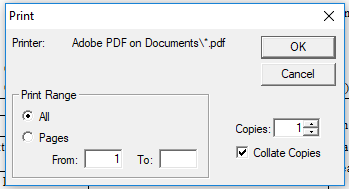
- Click OK.
- Browse to the location on your computer in which to store the report, and click Save. You can now email the PDF report to your provider, if needed.
 .The Print Setup dialog box opens.

