If you void a real check or direct deposit and do not re-issue a new check/deposit for the same amount, you should also void the payment in Minute Menu HX. When you do so, the claim and/or non-claim payment adjustment records are un-marked as paid so you can re-issue payment, if needed. A record of the void remains in the system for your records.
You can void individual payments, or you can void a range of payments. See each heading below.
Voiding Individual Payments
To void a single payment:
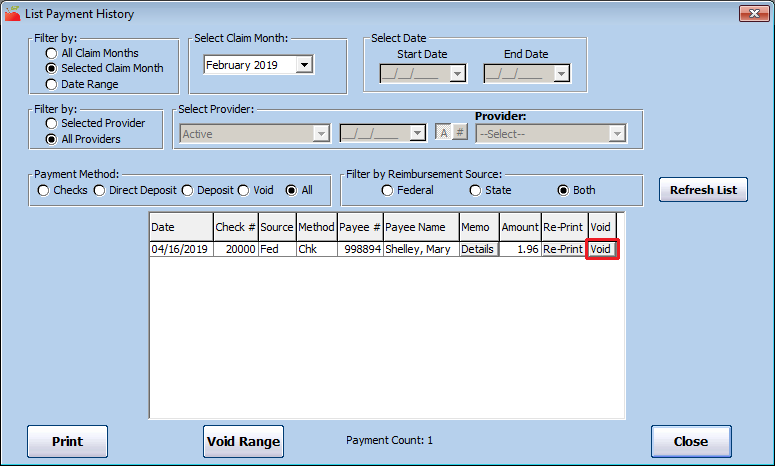
- Click the Checkbook menu and select List Payment History. The List Payment History window opens.
- Set filters for the payment you need to void. For more information, see List Payment History.
- Click Refresh List. Payments meeting the limits you set display.
- Click Void next to the payment to void. The Void Payment dialog box opens.
- Click the Reason for Void box and enter a reason for voiding this payment. This step is optional.
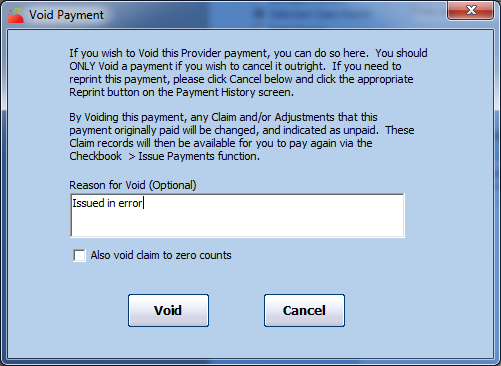
- Check the Also Void Claim to Zero Counts box to create a claim adjustment that sets the claim counts to zero in addition to voiding this payment, if needed. This makes the provider a zero-dollar claimer and prevents you from having to take extra steps to void the claim.
- Click Void. The payment is now voided. You must re-issue payment for the affected claim or non-claim payment adjustment.


Voiding a Range of Payments
To void a range of payments:
- Click the Checkbook menu and select List Payment History. The List Payment History window opens.
- Click Void Range. The Void Payment Range window opens.
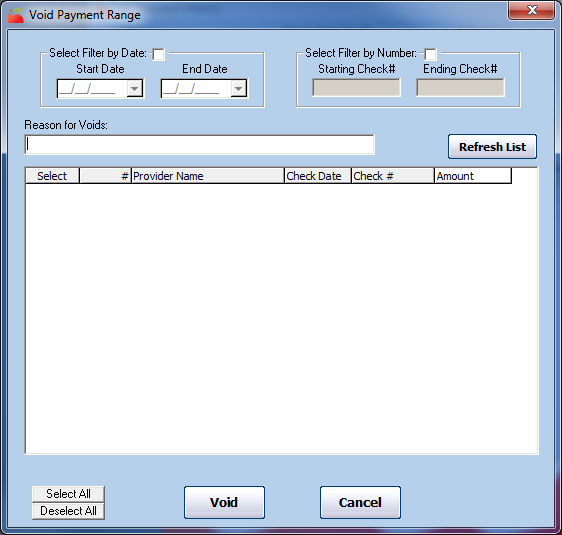
- Set filters for the checks to void:
- Filter by Date: Check this box, click the Start Date and End Date boxes, and enter a date range to void.
- Filter by Number: Check this box, click the Starting Check # and Ending Check # boxes and enter a check number range to void.
- Click Refresh List. Payments meeting the limits you set display.
- Check the Select box next to each payment to void.
- Click the Reason for Voids box and enter a void reason.
- Click Void.
- At the Are You Sure prompt, click Yes. The payments are now voided. You must re-issue payment for the affected claims or non-claim payment adjustments.
