If a check is lost in the mail (or otherwise gone), you can re-print it, rather than voiding and reissuing payment. When you re-print a check, the original check is automatically voided, and a new payment transaction record is created.
- Click the Checkbook menu and select List Payment History. The List Payment History window opens.
- Set filters for the check(s) to re-print. For more information, see View Payment History.
- Click Refresh List. Payments meeting the limits you set display.
- Click Re-Print next to the check to re-print. The Re-Print Payment window opens.
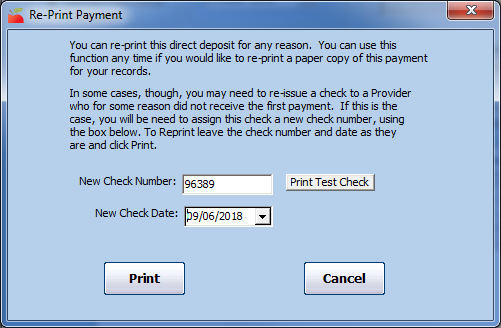
- To assign a new check number for this payment, click the New Check Number box and enter a new number. If you change this field, a record of the voided transaction is kept on-file.
- To set a new check date for this payment, click the New Check Date box and enter the new date.
- Click Print.
